

How To Create Database In Excel Vba
Excel is a combination of rows and columns, and these rows and columns store our data which in other terms are named as records, as excel is the most common tool we store the data in excel which makes it as a database, when we put data in excel in some form of tables in rows and columns and give table a name that is a database in excel, we can also import data from other sources in excel given the format of the data is in proper with the excel format.
Creating an Excel Database
Having the data in excel will make life easier for you because excel is such a powerful tool where we can play with the data all the time. If you are maintaining the data in some other sources, you may not get all the formulas, date & time format correctly. I hope you have experienced this in your daily workplace. Having the data in the right database platform is very important. Having the data in the excel has its own pros and cons. However, if you are a regular user of excel, then it is much easier for you to work with excel. In this article, I will show you the way of creating a database in excel.
You are free to use this image on your website, templates etc, Please provide us with an attribution link Article Link to be Hyperlinked
For eg:
Source: Database in Excel (wallstreetmojo.com)
How to Create a Database in Excel?
We don't see any of the schools are colleges teach us to excel as the software in our academics. Whatever business models, we learn a theory until we join the corporate company.
The biggest problem with this theoretical knowledge is it does not support real-time life examples. Nothing to worry; we will guide you through all the process of creating a database in excel.
You can download this Create Database Excel Template here – Create Database Excel Template
We need to design the excel worksheet carefully to have proper data in the database format. Follow the below steps to create a database in excel.
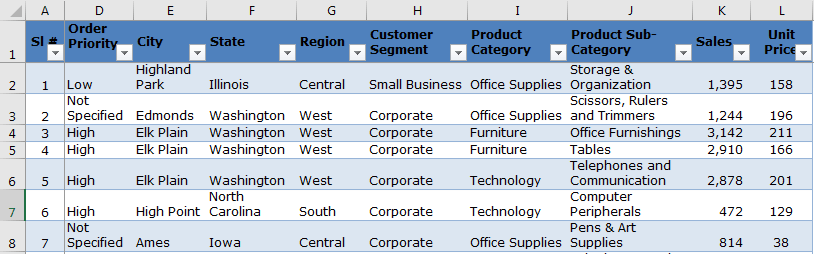
- Make sure you have all the required columns and name each heading properly.

- Once the headers of the data table are clear, we can easily start entering the data just below the respective column headings.
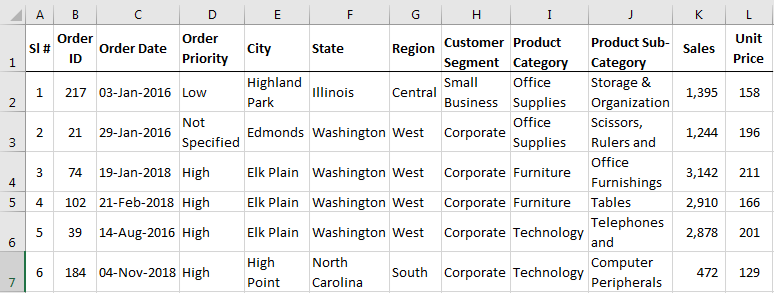
In database terminology, rows are called Records, and columns are called Fields.
- When you are entering the data, you cannot leave a single row empty. Let's say you have entered the headings in the first row, and if you start entering the data from the third row by leaving the 2nd row empty, then you are gone.
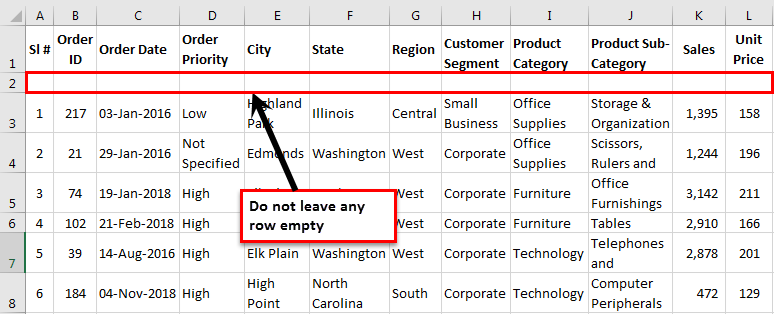
Not only the first or second row, but you also cannot leave any row empty after entering certain data to the database field.
- As I said, each column is called Fields in the database. Similarly, you cannot have an empty field between the data.
You need to enter the field's one after the other. Having a gap of even one column or field is strictly prohibited.
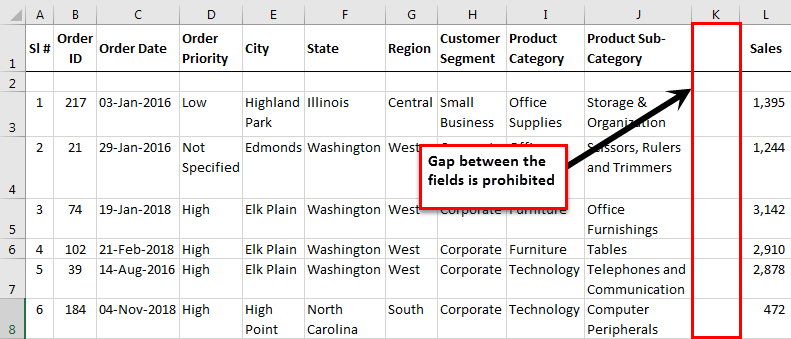
The reason why stressed so much on not to have an empty record or field is that when the data need to be exported to other software or web, as soon as the software sees the blank record or field, it assume that is the end of the data, and it may not take the full data into consideration.
- Fill all the data carefully.
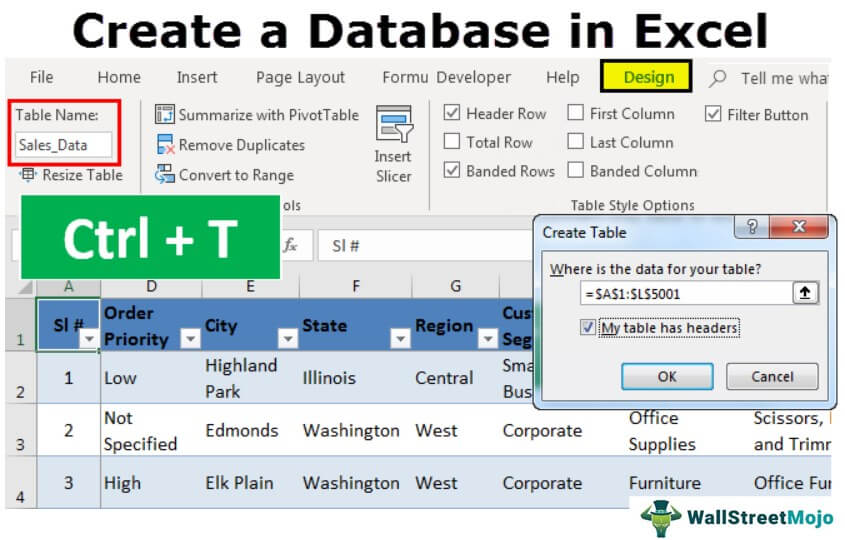
In the above image, I have data all the way from row 1 to row 5001. - The final thing you need to do is to convert this data to an excel table In excel, tables are a range with data in rows and columns, and they expand when new data is inserted in the range in any new row or column in the table. To use a table, click on the table and select the data range. read more . By selecting the data, press Ctrl + T.

- Here you need to make sure My data has a header checkbox is ticked, and the range is selected properly.
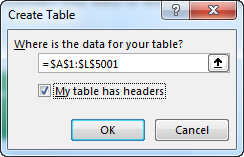
- Click on OK to complete the table creation. We have a table like this now.
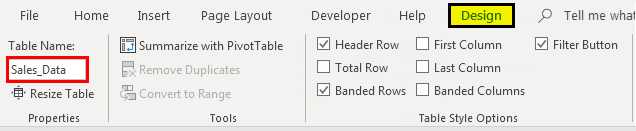
- Give a proper name to the table under the table design tab.
- Since we have created a table, whenever you enter the data after the last column, it would expand automatically.
Ok, we have the database ready now. Follow below pros and cons to have a good hand on your database.
Things to Remember While Creating a Database in Excel
- You can upload the file to MS Access to have a safe database platform and back up a platform.
- Since you have all the data in excel, it is very easy for your calculations and statistics.
- Excel is the best tool for database analysis.
- Easy to ready and not complicated because of clear fields and records.
- We can filter out the records by using auto filters.
- If possible, sort the data according to date-wise.
- As the data keeps growing, excel will slow down considerably.
- You cannot share more than 34 MB file with others in an email.
- Apply the Pivot table A Pivot Table is an Excel tool that allows you to extract data in a preferred format (dashboard/reports) from large data sets contained within a worksheet. It can summarize, sort, group, and reorganize data, as well as execute other complex calculations on it. read more and give a detailed analysis of the database.
- You can download the workbook and use it for your practice purpose.
Recommended Articles
This has been a guide to Database in Excel. Here we discuss how to create a database in excel with examples and downloadable excel templates. You may also look at these useful functions in excel –
- Excel Database Template
- Match Data using Excel Functions
- Forms for Data Entry in Excel
- Create a Data Table in Excel
- SUMIFS with Dates
- 35+ Courses
- 120+ Hours
- Full Lifetime Access
- Certificate of Completion
LEARN MORE >>
How To Create Database In Excel Vba
Source: https://www.wallstreetmojo.com/database-in-excel/
Posted by: jacksonsentin2001.blogspot.com
0 Response to "How To Create Database In Excel Vba"
Post a Comment